[ad_1]
Aqua Art Inks are recognised as amongst the finest inks for water based screenprinting and are manufactured in the UK by Screentec Print Essentials. Being manufactured from single pigments, the inks deliver intense, saturated colour and perform optimally for colour mixing. We are very excited to have added Screentec Aqua Art Water Based Screen Ink for paper and board to our developing screenprinting department. Here we will explore printing with a combination of high tech and low-tech stencils, and a tabletop printing set up.
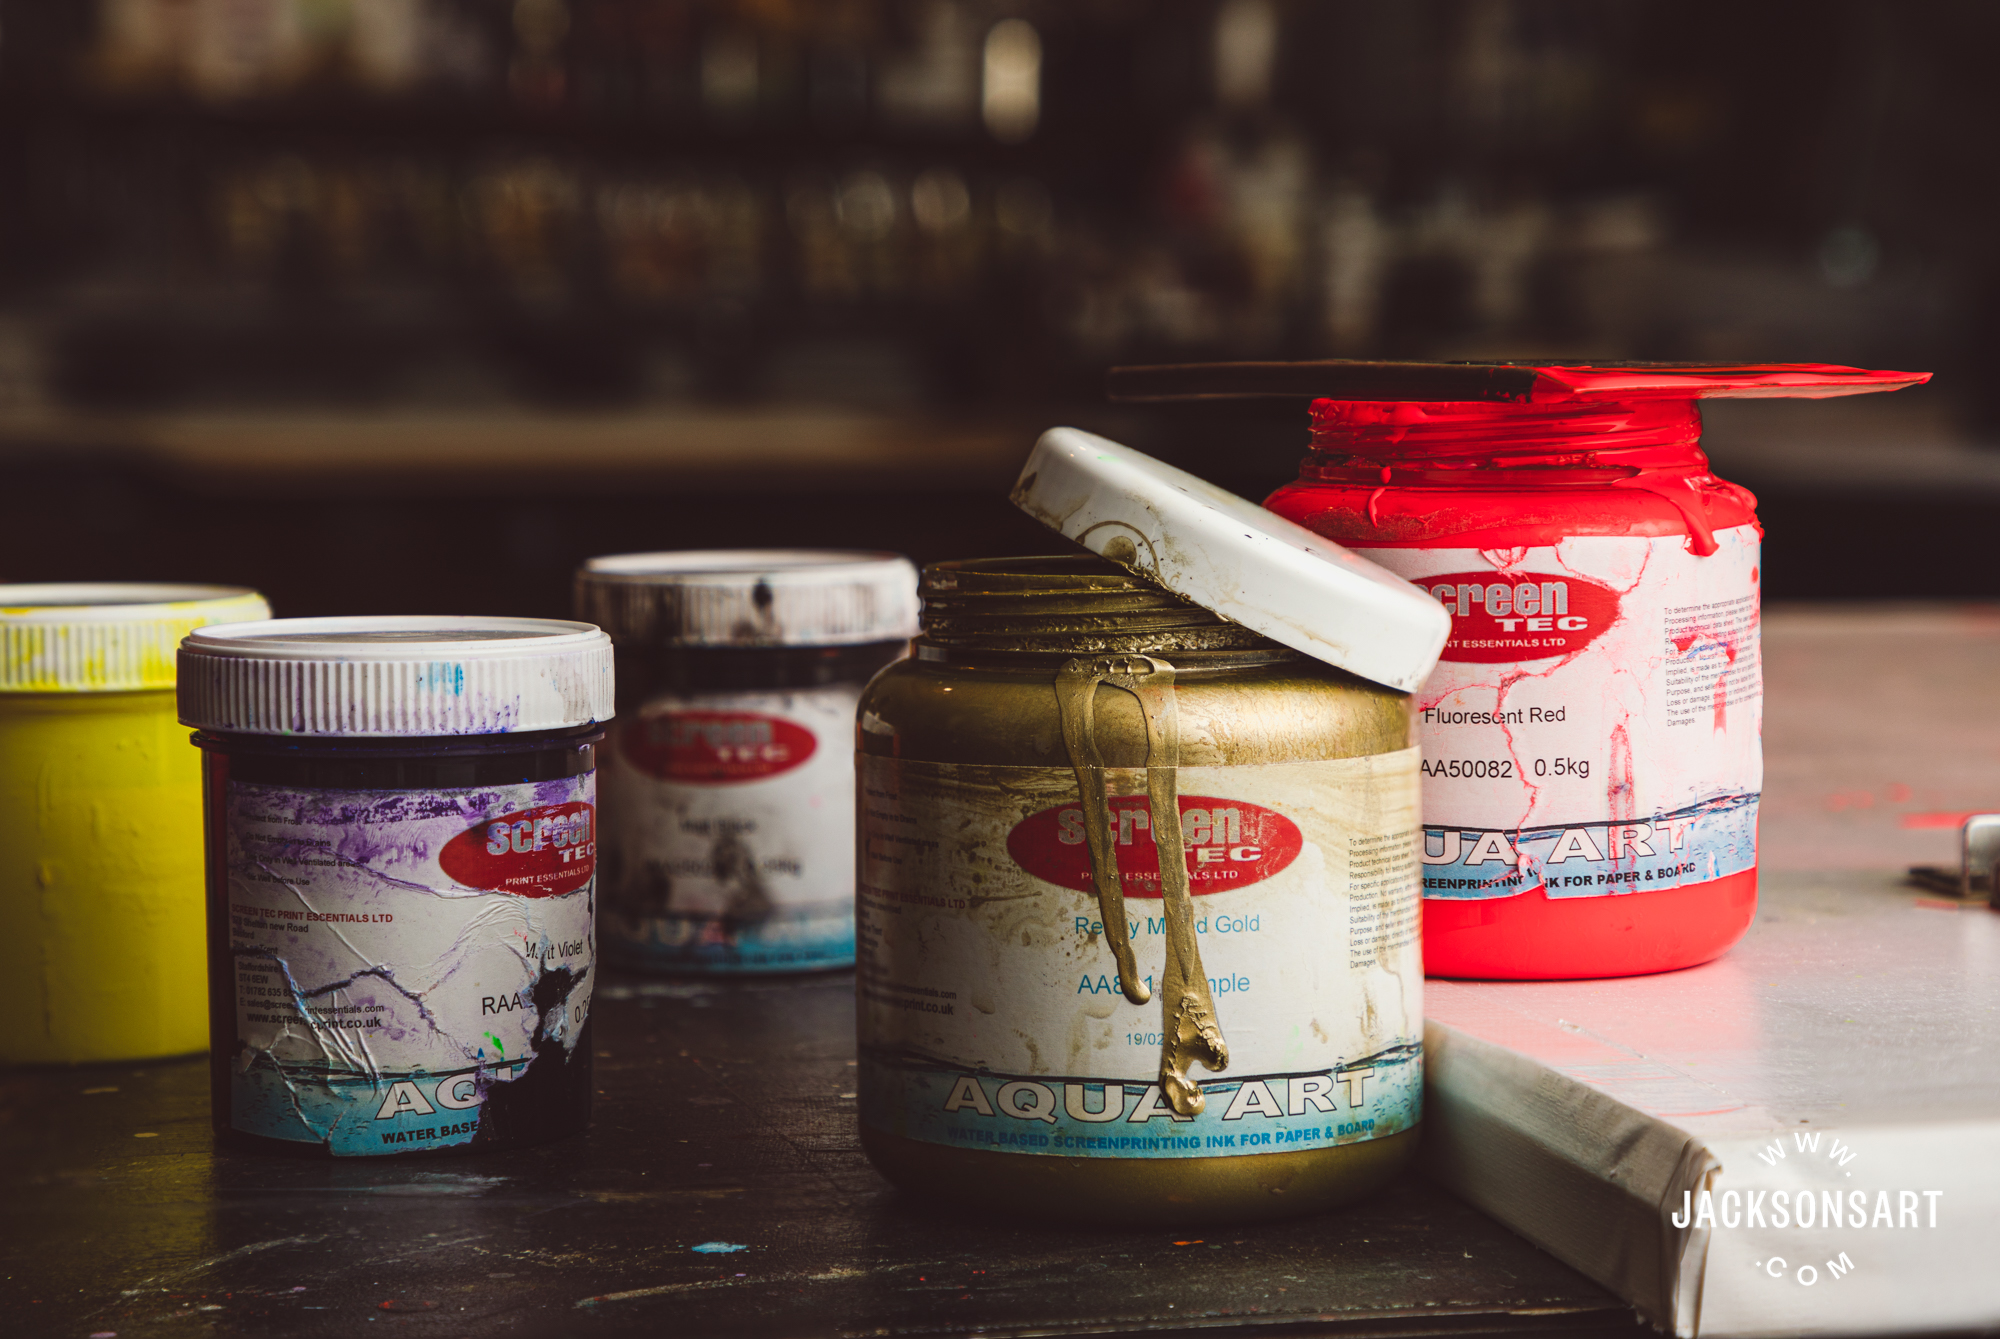
Screentec Aqua Art Water Based Screen Ink 250 g and 500 g tubs
Designed for printing onto paper, cardboard, and fine art papers, with recommended weight over 100 gsm. Heavier papers will be more stable, especially if your print requires the laying down of multiple colours. However, we have successfully printed onto Japanese Kozo, a naturally stable paper of 46 gsm weight. Screentec recommends using 77-120T (200-305 USA) polyester mesh for most applications, with optimum results being achieved on a 90T mesh (230 USA).
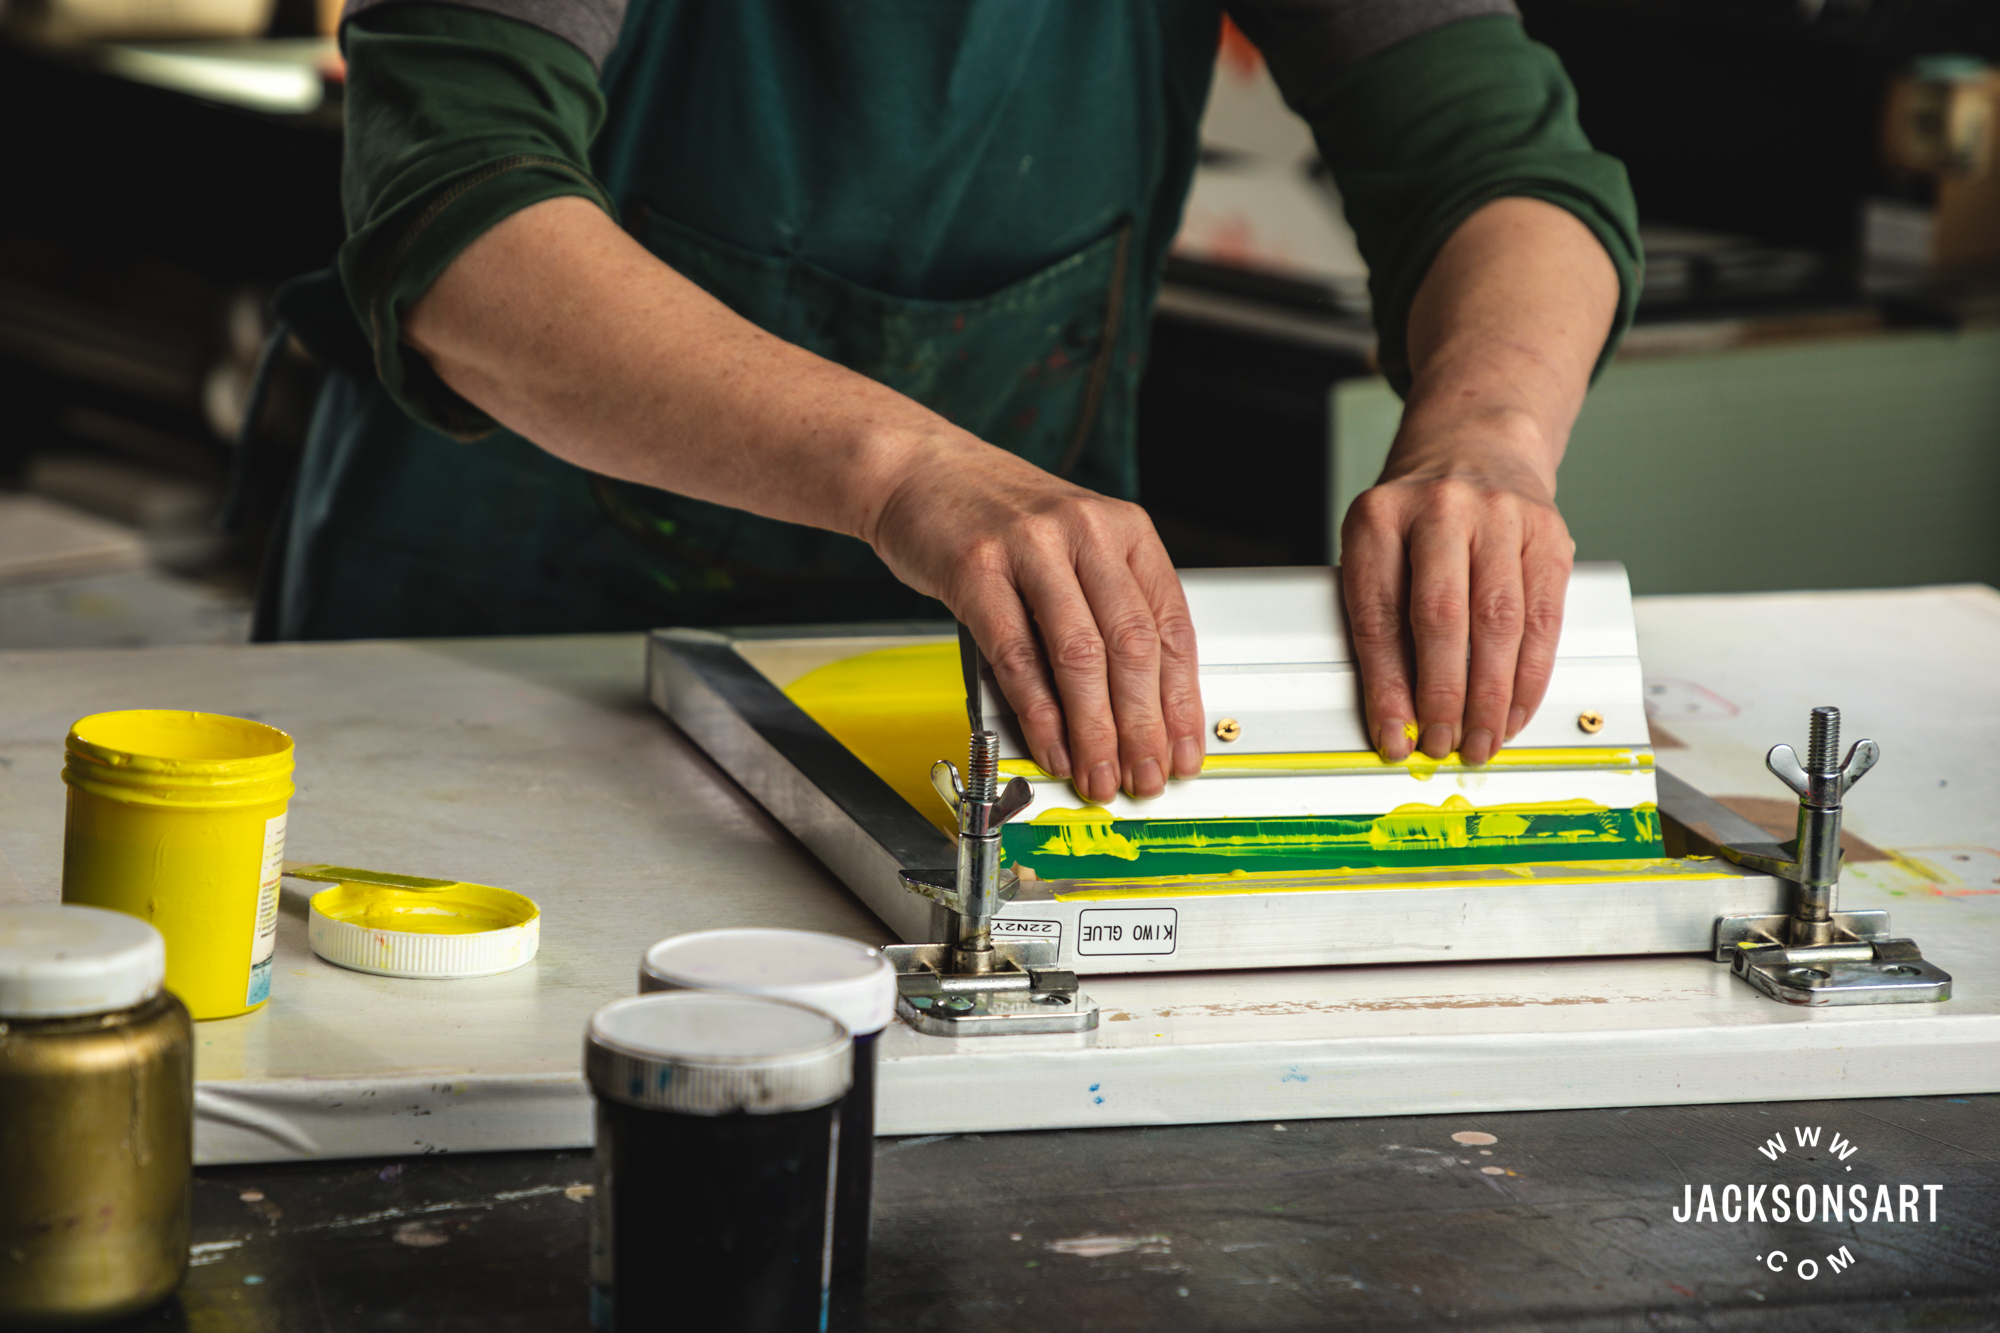
Tabletop screen print set up with hinge clamps
For this session, I brought in my portable, homemade board with hinge clamps attached. The screens were 120T mesh with both photo emulsion stencils, and hand cut paper stencils and I used a square profile squeegee of 75 shore (green coloured blade). I used a combination of standard unmixed colours as well as fluorescents and metallics. The first registration system I used was the Ternes Burton pins and tabs, the second I have seen described as the ‘Mylar Flop’ method. This is where a transparent sheet of film is taped onto the print bed. You can try Mylar or drafting film, anything not too thin that you can wipe down with a wet sponge. If you print your image on to it, you can then position your previous colour underneath the film, then flip back and print. The ink can then simply be wiped off and the film is then ready for the next colour.
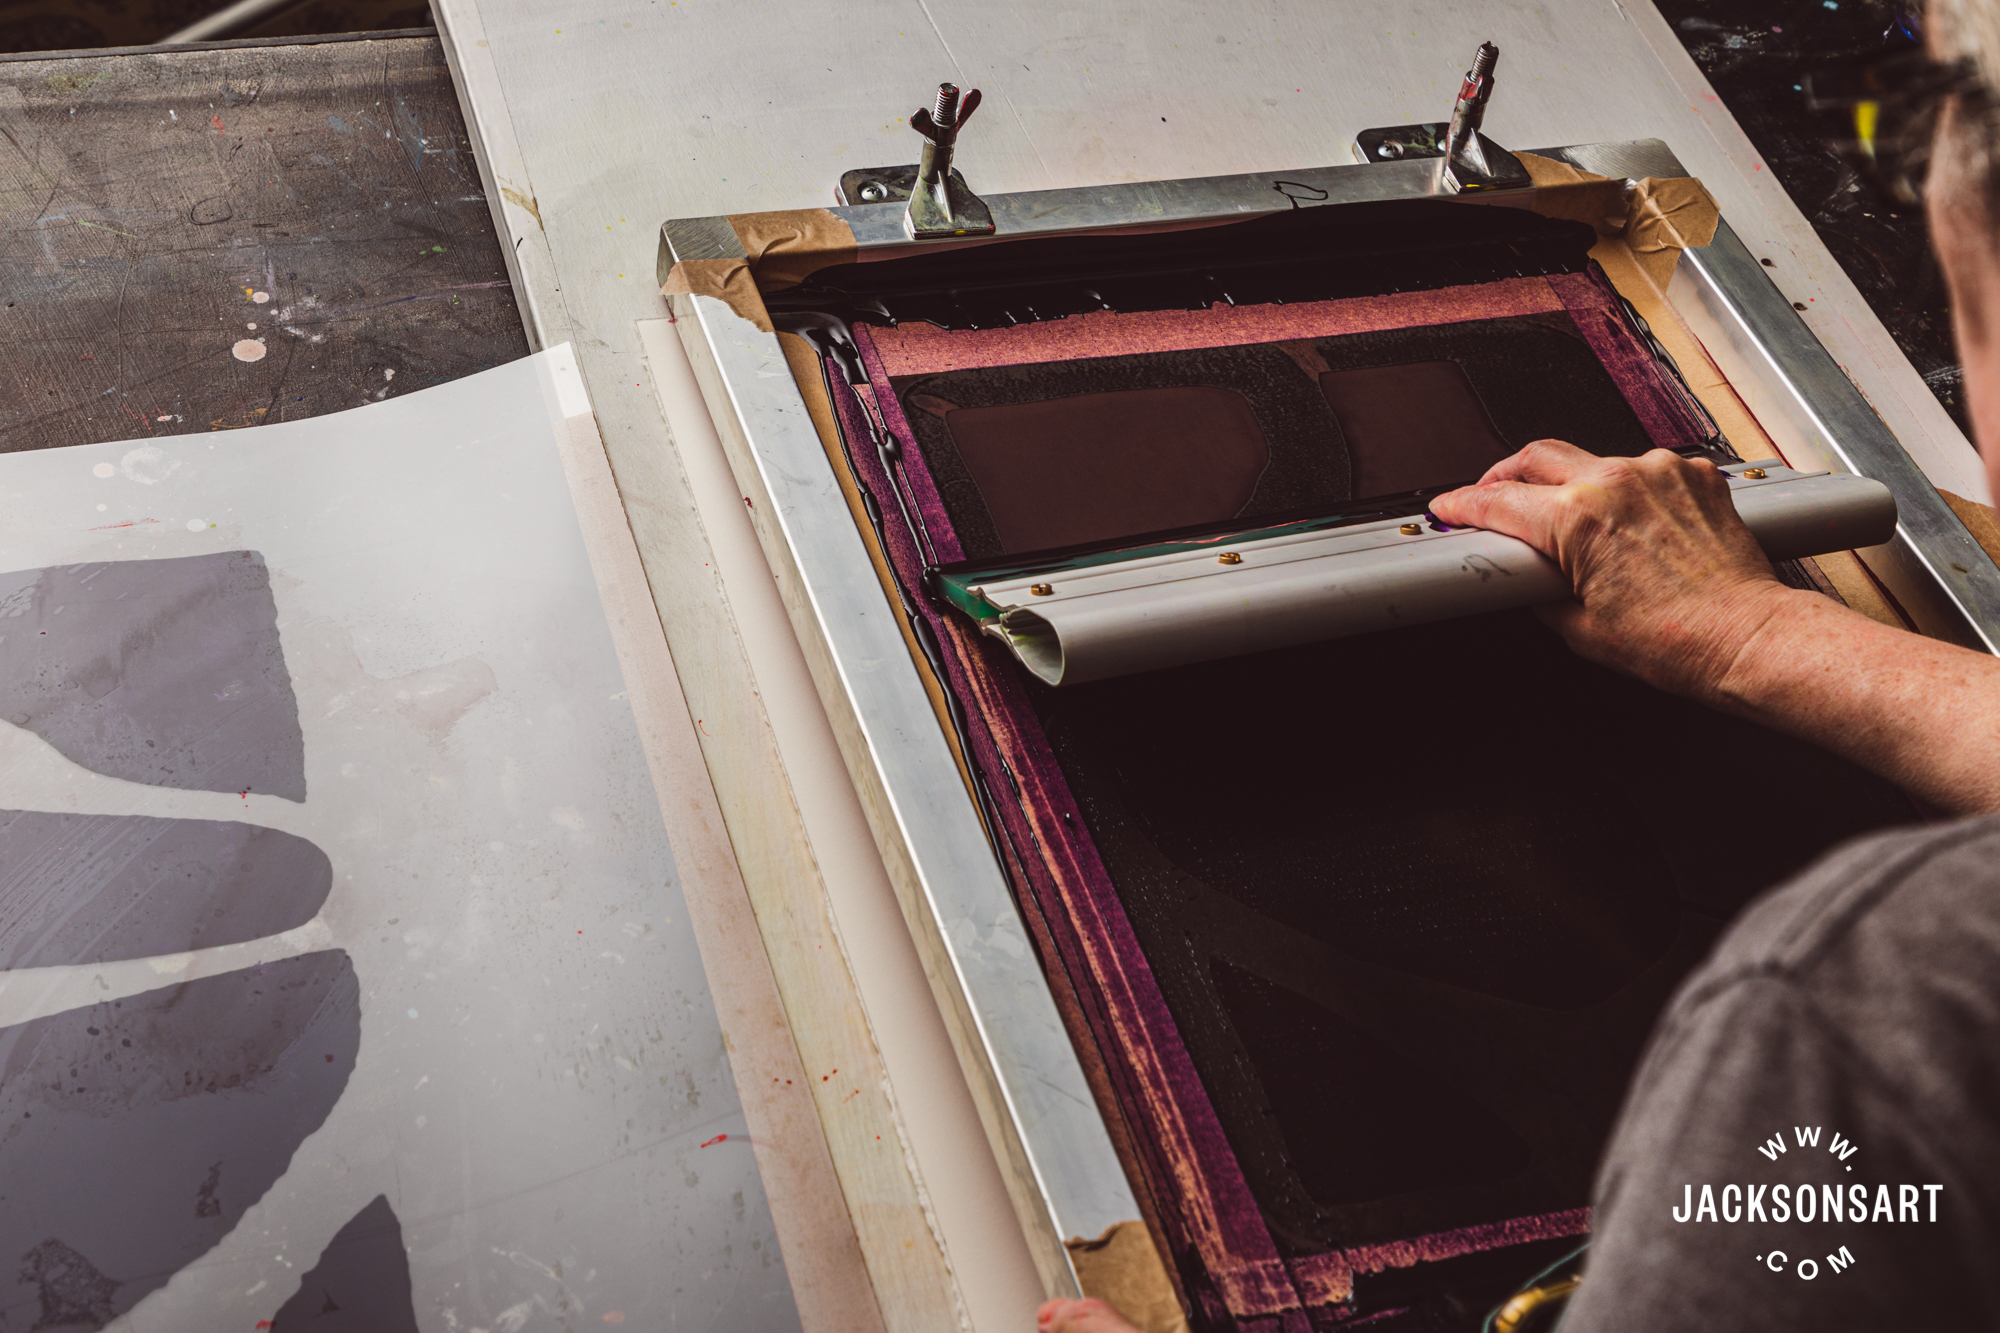
Mylar flop registration technique, printing with Aqua Art Violet
Colour Properties
I printed with inks straight from the tub to explore the vibrancy and impact of these single pigment colours. However, Screentec have designed the Aqua Art colour range to work as a mixing system. Single pigment colours will mix truer and more predictably than blended pigment colours. They will help you maintain control of your colour mixes and mean your mixed colours will be as luminous and intense as possible. This range serves as the building blocks to mix all your colours without compromising on vibrancy.
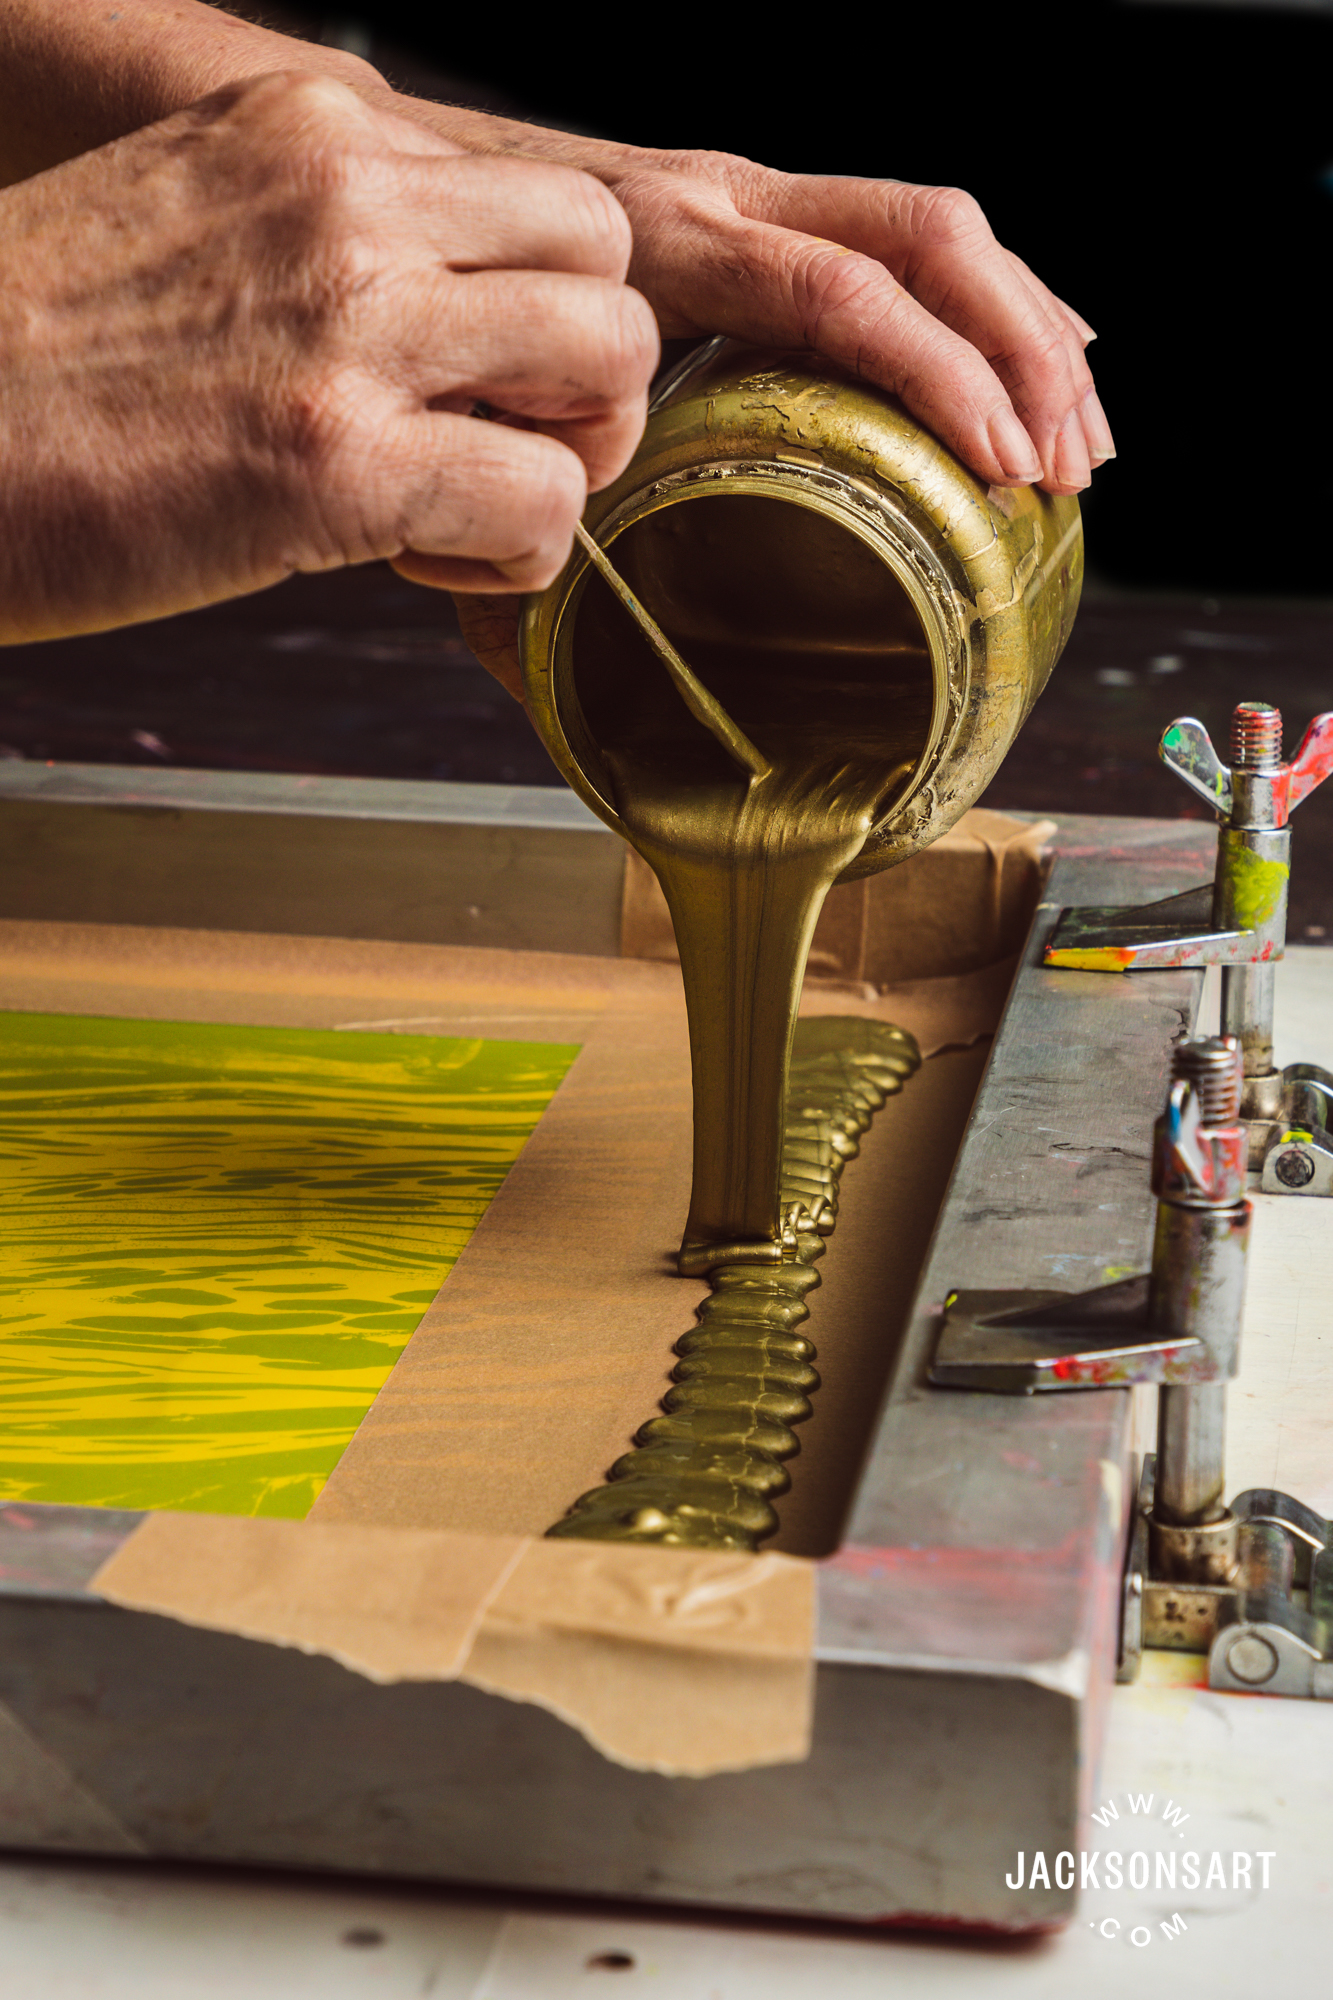
Pouring Aqua Art Gold Ink
The finely milled gold and silver metallics will print with high definition through a fine mesh with recommended optimum performance at 77T (200 USA) mesh. I have found the metallic properties can further be enhanced by printing over a dark base colour.
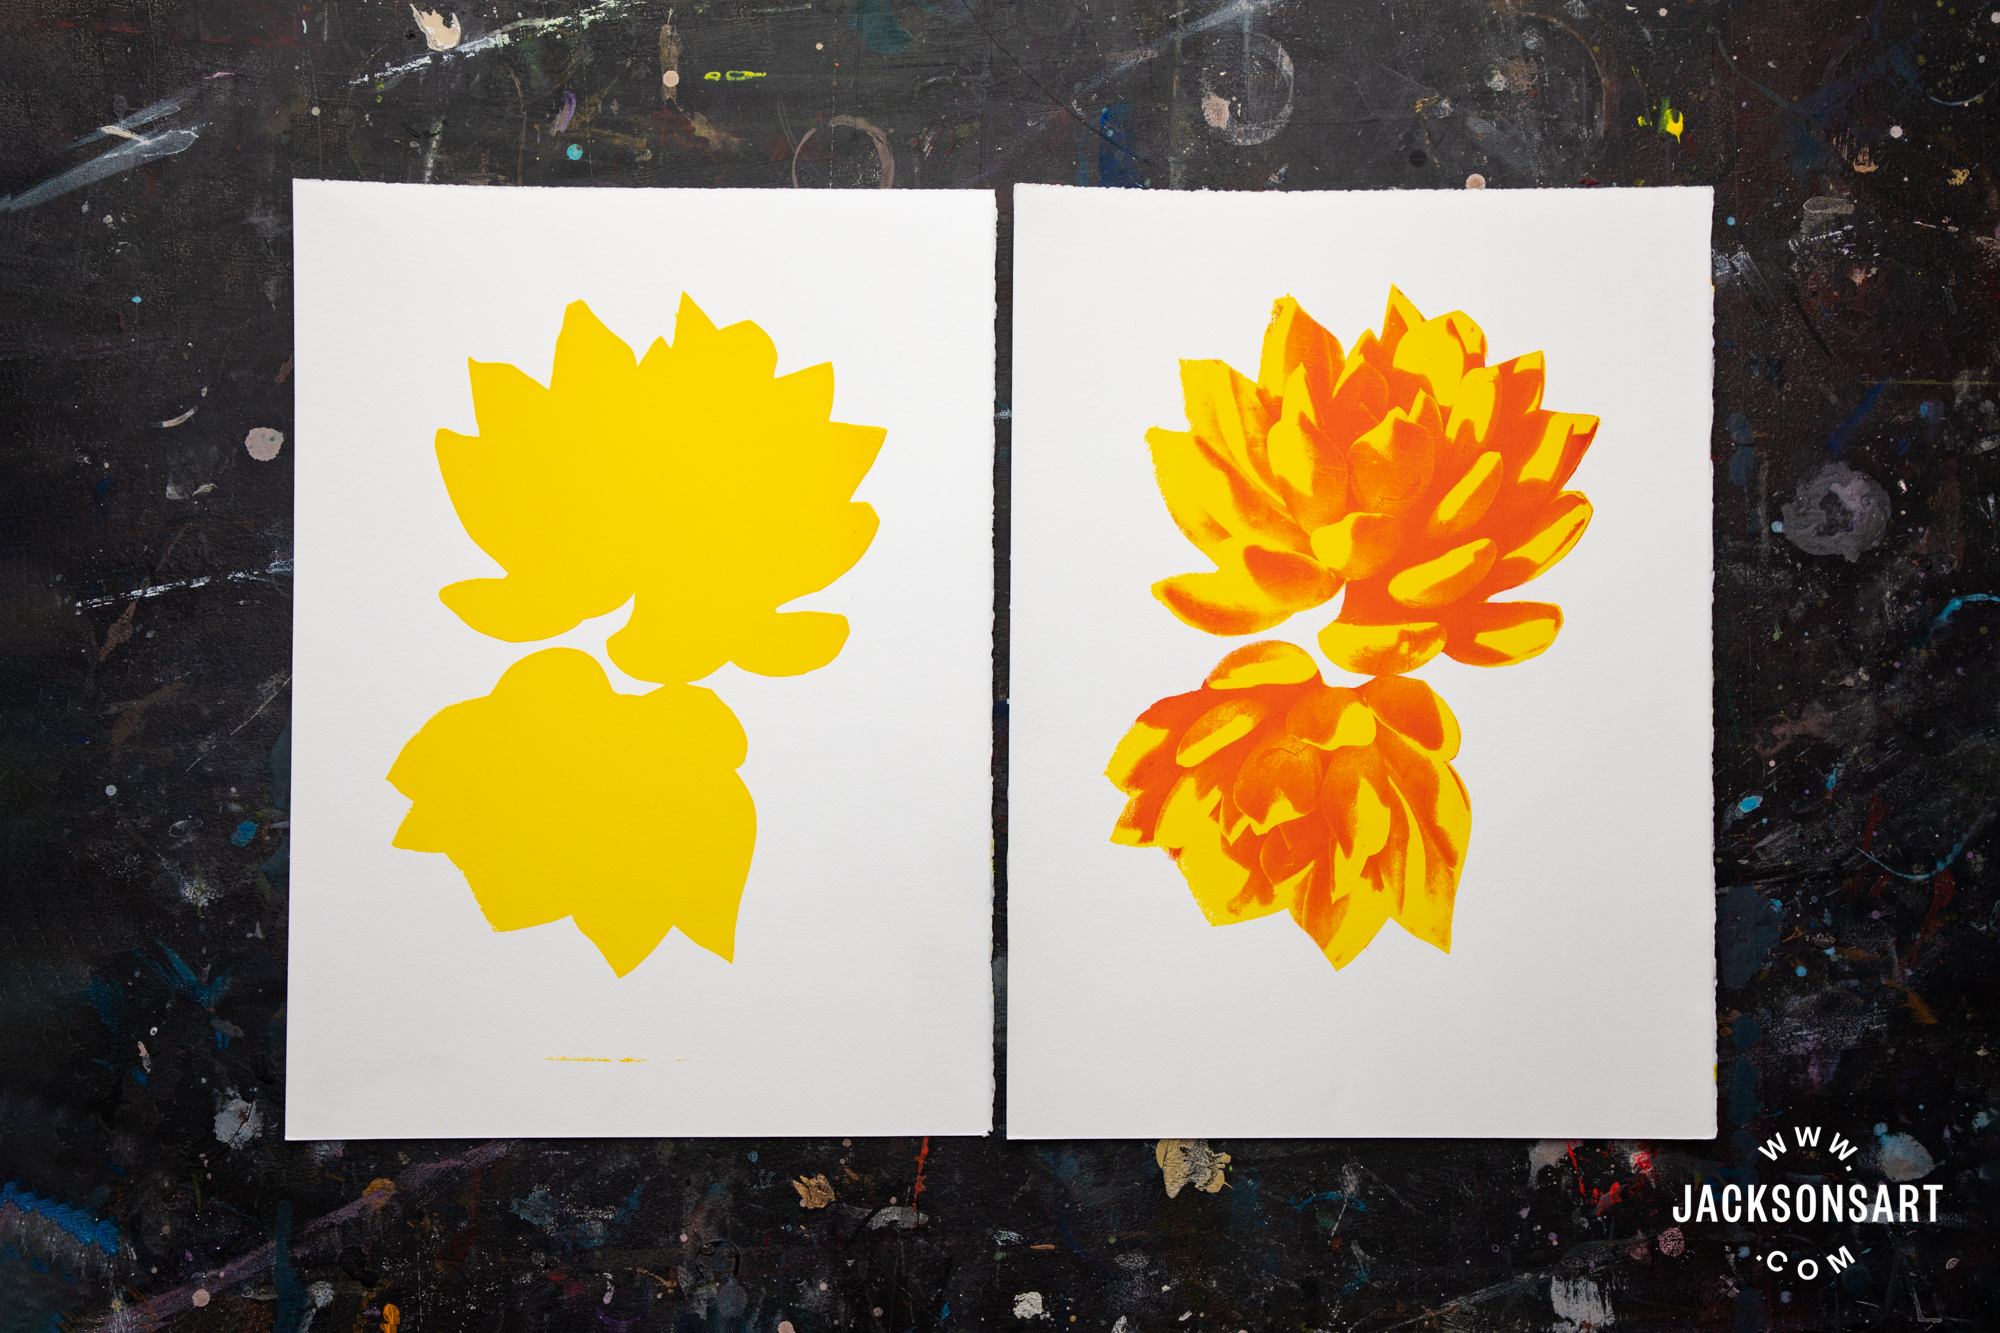
I have included a couple of the fluorescent colours in one of my prints. These strong fluorescents are high impact and fun but not considered lightfast, so are best displayed away from direct sunlight or under UV glass. The pigments in the fluorescent inks work by absorbing ultraviolet energy, which our human eyes cannot see, and transmitting it as longer waves in the visible spectrum. Our eyes view fluorescent colours far more intensely as that ultraviolet energy glows. My mesh is 120T (305 USA) although Aqua Art fluorescents should yield best performance with 77-90T (200-230 USA) mesh count.
Aqua Art Inks also offer a set of halftone colours; Halftone Cyan, Halftone Yellow, Halftone Magenta and Halftone Black. These are your CYMK inks for the four-colour process. The ‘K’ represents the black which is used to ‘key’ the other stencils. We will cover this in more depth in an upcoming article, but simply put, the process involves combining varying amounts of the four inks to produce a full spectrum of colour.
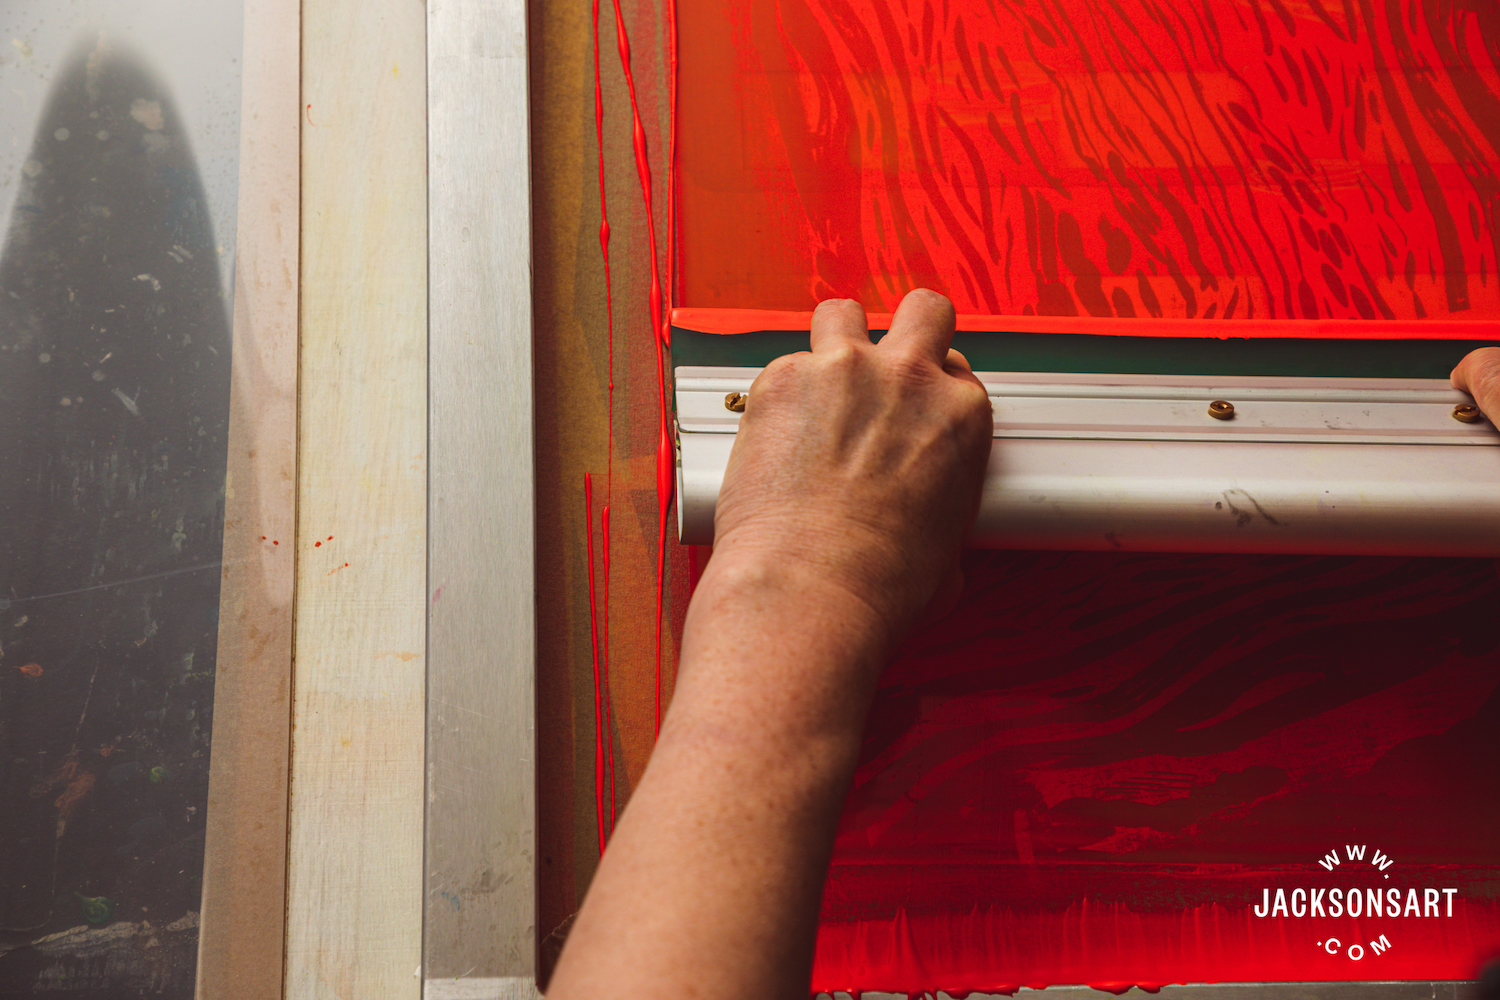
Printing with Aqua Art Fluorescent Red
Colour Mixing
Incorporating a black and opaque white into your range will enable the mixing of lighter opaque colours as well as knocking back to subdue brights. I have found the high pigment load in these inks means that a small amount of colour is needed in proportion to white, so sticking with the principle ‘always add dark to light’ is especially apt.
You can record your colour mix recipe for future reference, or if you don’t want to mix ink for the whole edition. Start by putting the colours you think you need into separate tubs and weigh each one. For simpler calculations you could do equal amounts e.g. 100 g of each. Once you have reached the desired colour, do a small test print through a screen. This is because it will look slightly different when printed, to what you see in the pot. If you need to bring in an additional colour to the blend, then put that in a pot and weigh before you take any out to add to your blend. Once you have got your desired colour, weigh each separate tub again and deduct from the original weight. This will give you a weight for each component colour that has gone into your blend. From this information you can calculate the proportions. Keep a record, just as potters keep records of their glaze mixes!
Another way of creating secondary colours is by layering. Transparent overlays will create second or third colours in the overlapping areas. On the print below you will see Yellow, Orange and Process Blue overlapping to create secondary and tertiary green, purple.
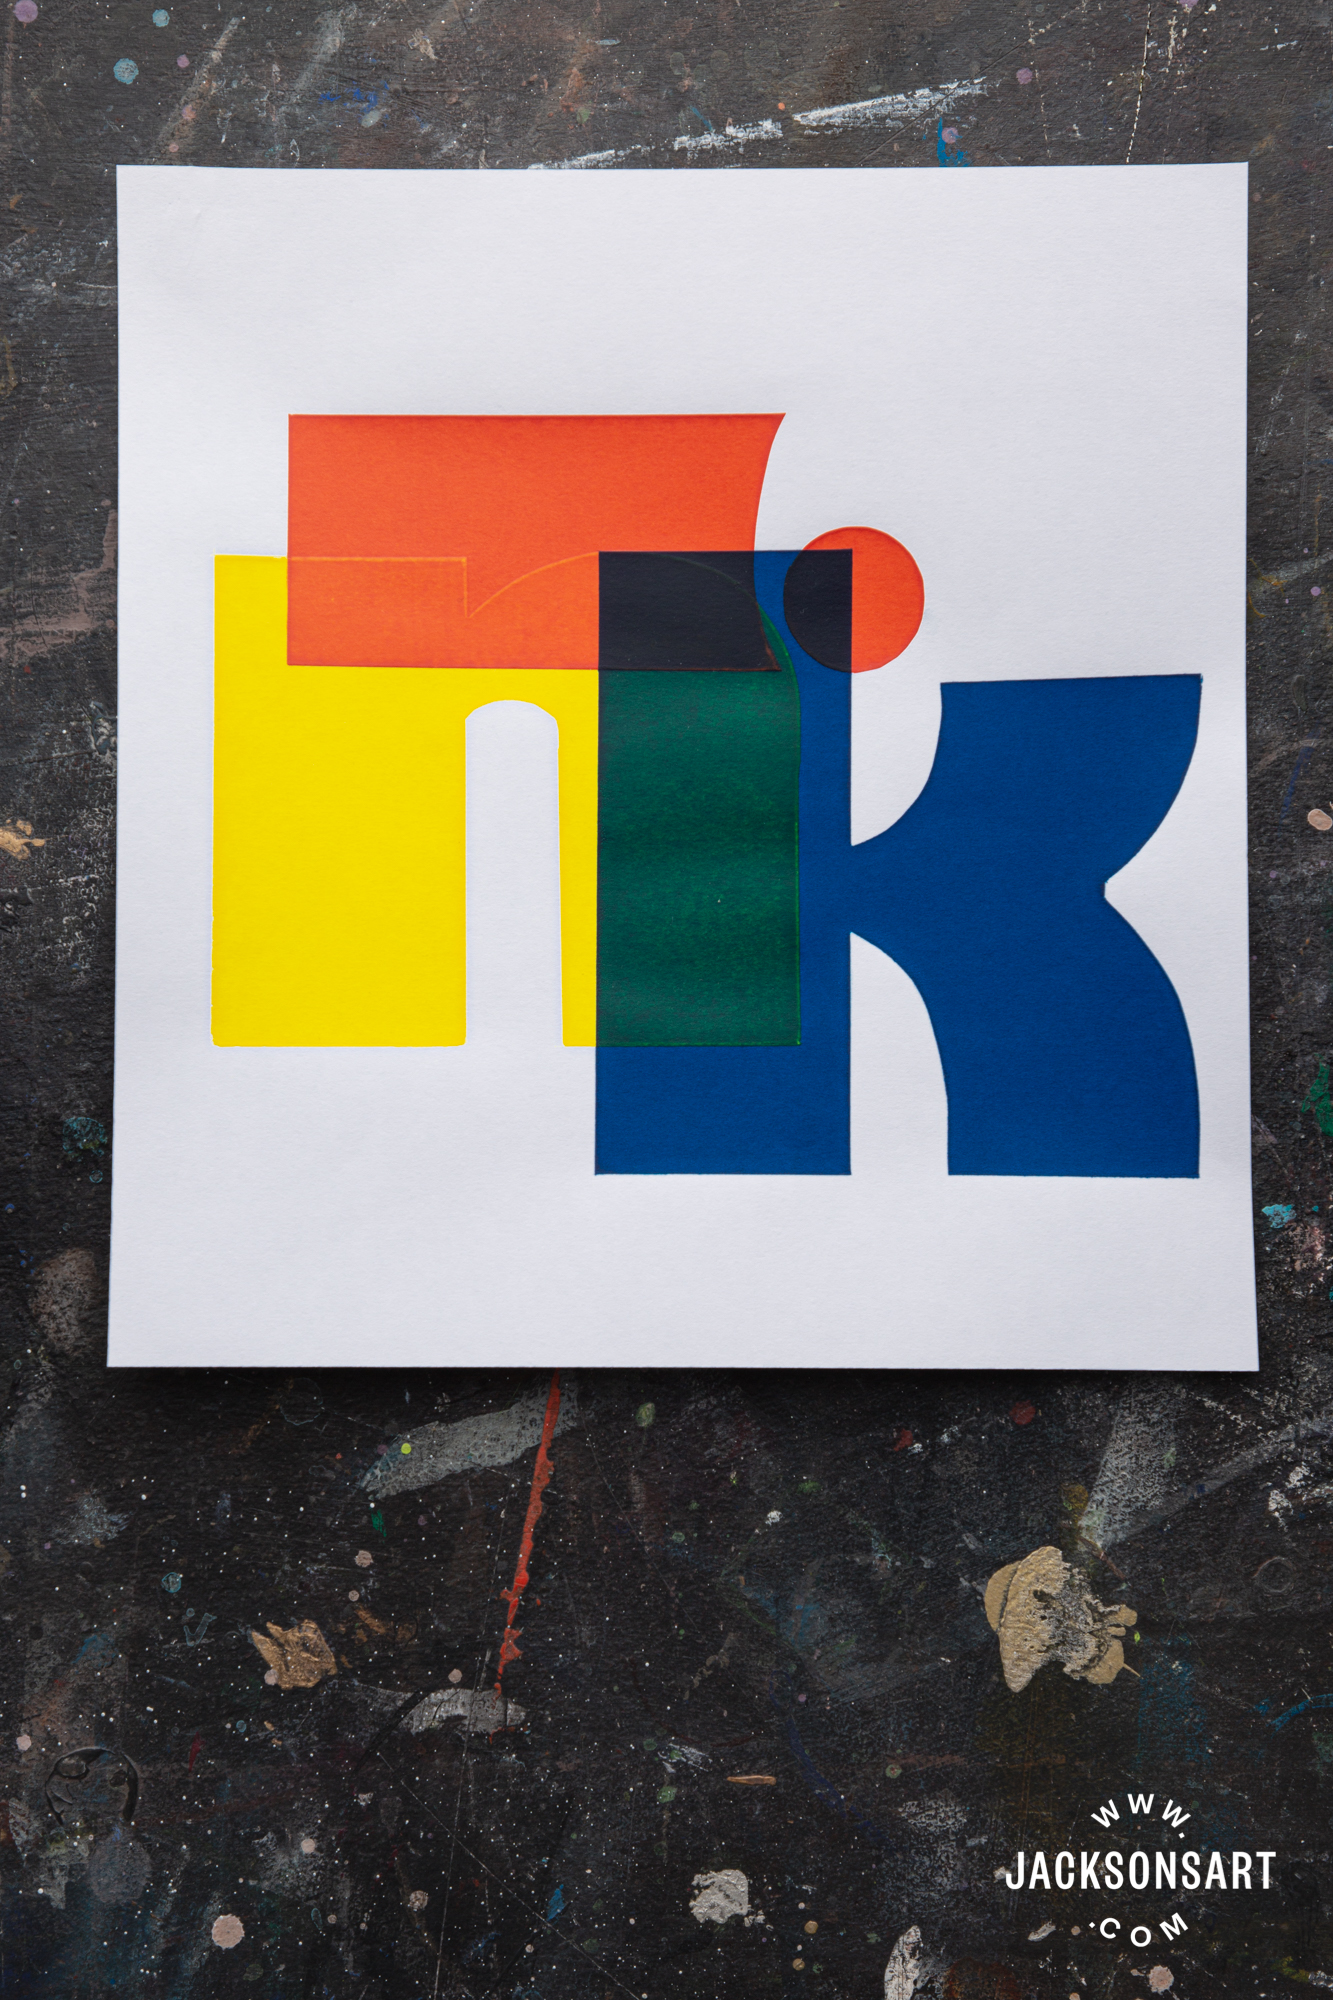
Overlays of Yellow, Orange and Process Blue printed with paper cut stencils
Handling the Inks
Aqua Art Inks can be used straight from the tub after giving them a thorough mix. The viscosity of the inks varies a little between pigments as well as room temperature. Lower temperatures will increase the ink viscosity, and this can affect the flow of the ink. Higher temperatures decrease viscosity, with the potential to reduce print definition, affect thickness of the printed layer, as well as its opacity. Screentec recommends storing the inks in temperatures between 65 – 90°F (18 – 32°C) for optimum print performance. If you want to lower the viscosity, or thin the ink slightly, adding a little water (up to 5% by volume) will do this.
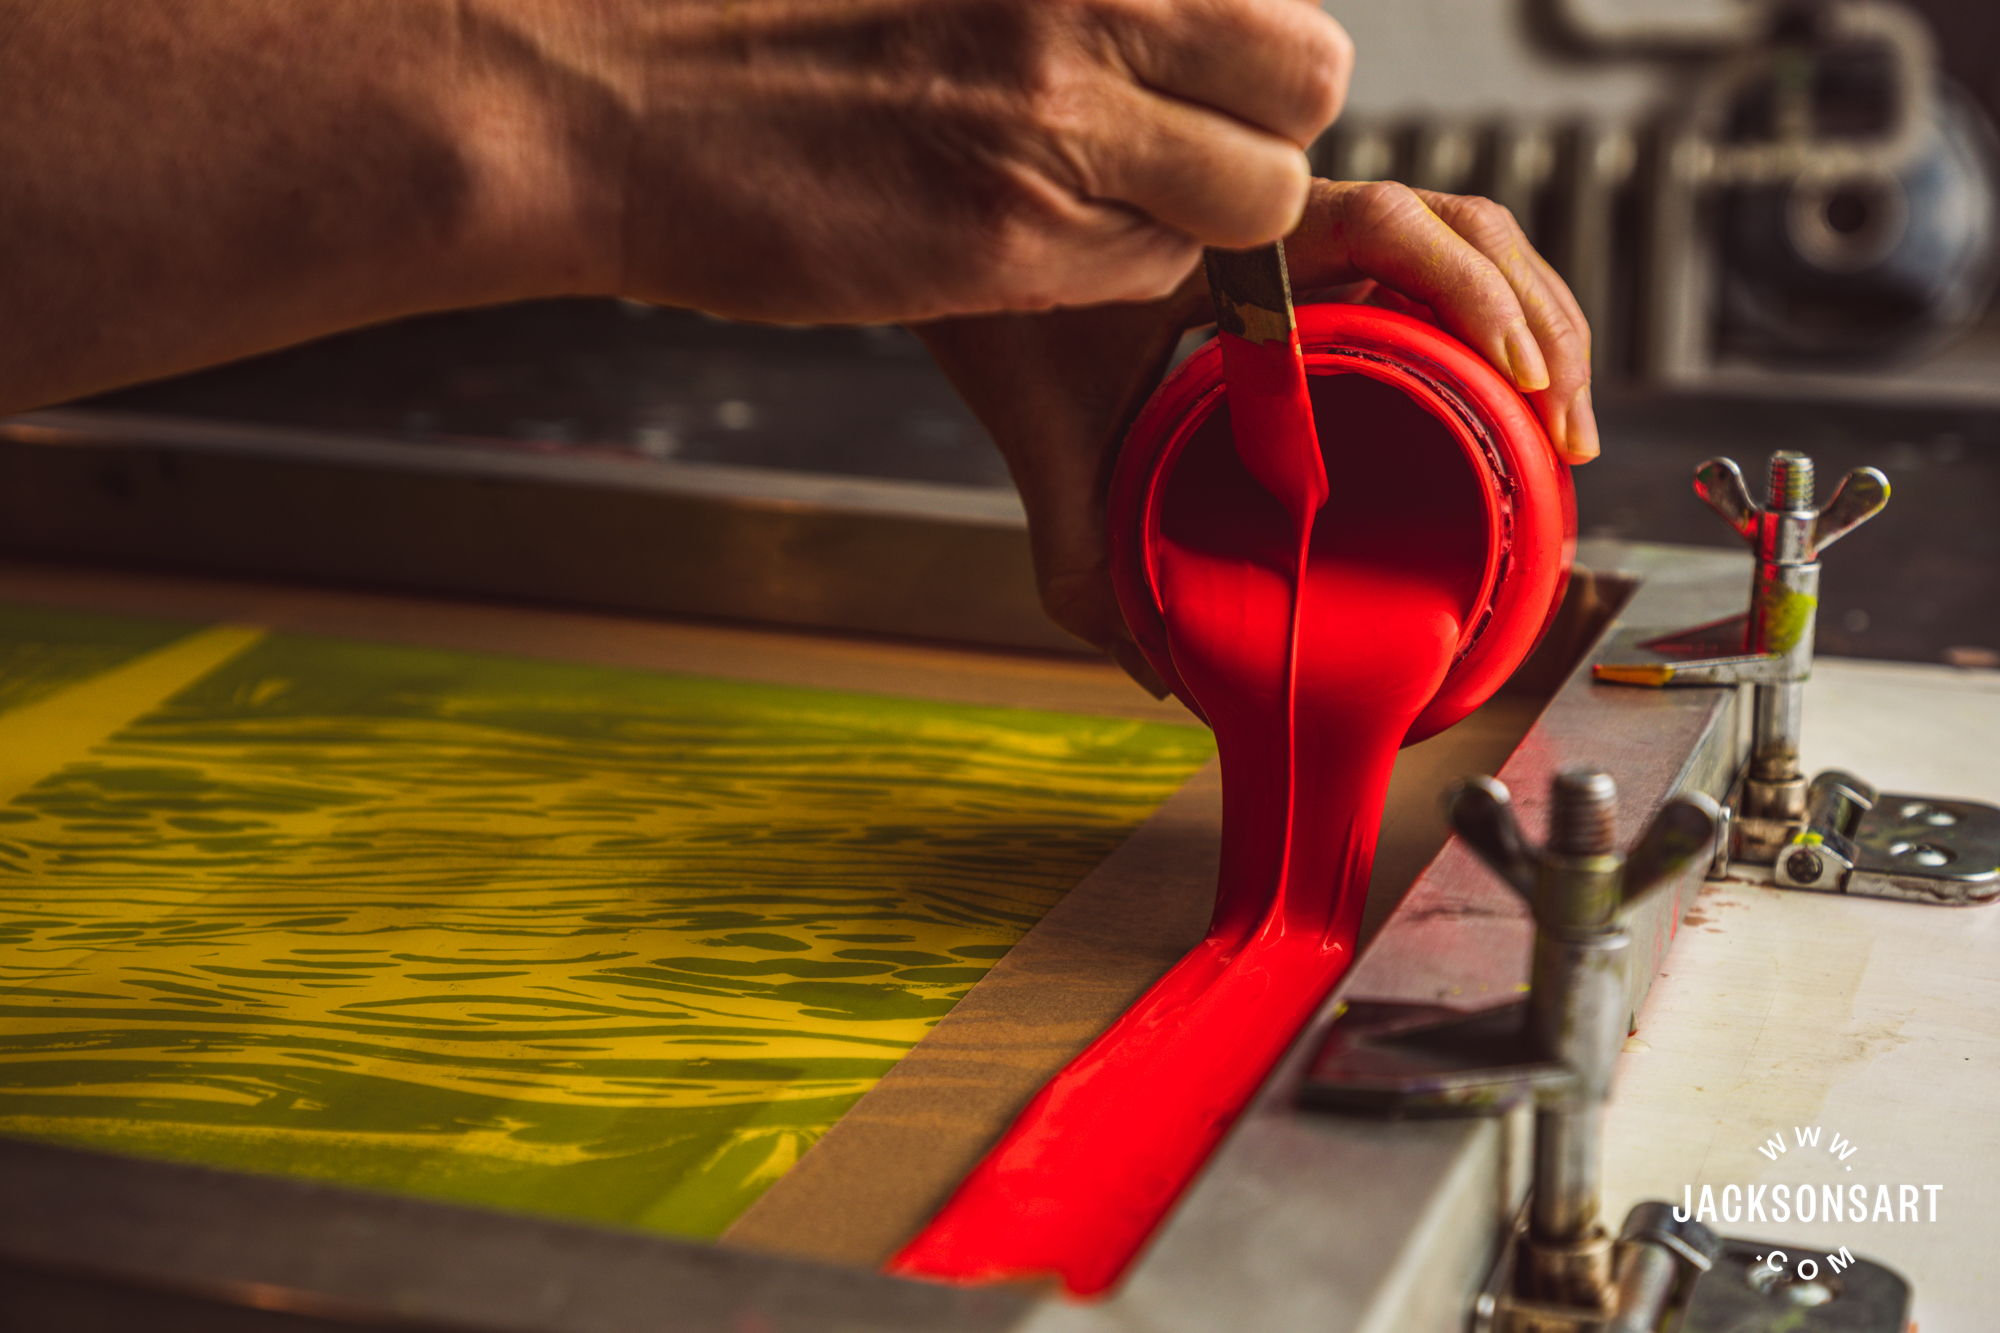
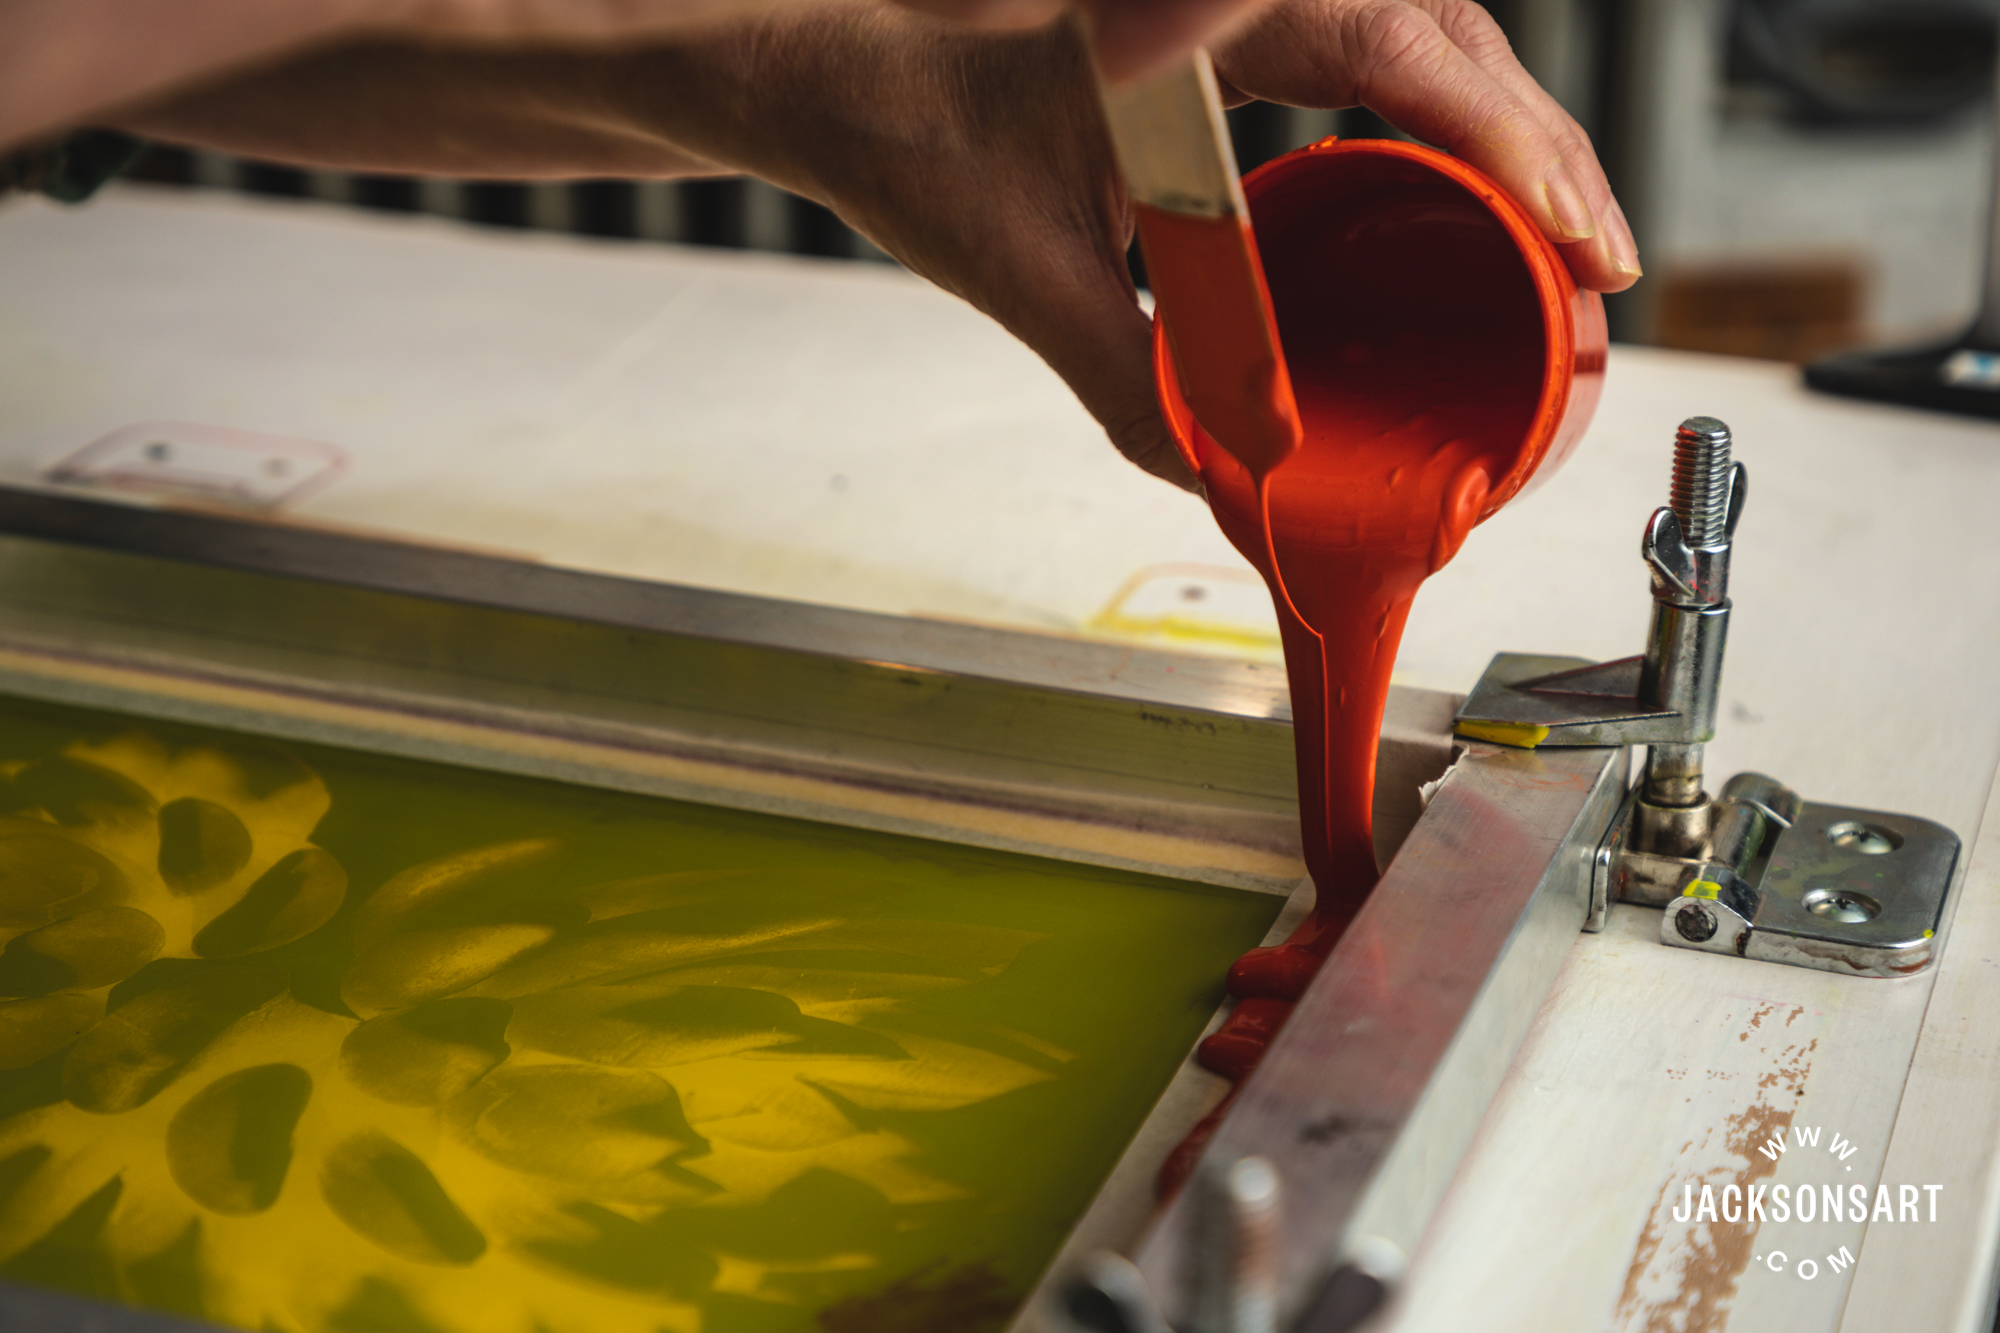
Pouring Fluorescent Red straight from the tub after mixing well
When water-based inks were brought in to replace solvent inks towards the end of last century, the issue of drying in became a new technical challenge for screen printers. Solvent based inks could be squeegeed across the screen and then left as the screen was lifted and the paper changed ready for the next print. Due to the drying characteristics of water-based inks, which are acrylic based, it became necessary to introduce what is called a flood coat. After the print coat, the screen is lifted slightly, and the ink squeegeed back across the screen to fill in all the apertures in the mesh. This ensures a thicker deposit of ink sits in the image slowing down its drying capacity. Paying attention to this aspect of printing with water-based inks is important, as dried in ink is stubborn to remove. The hotter and drier the atmosphere, the greater the potential for this to occur. I have been printing with Aqua Art in my own studio quite happily, so was surprised to find some drying in of the screen when printing at my local open access studio. I had my screens drying in the warming cabinet, a hot dry breeze through the studio and a vacuum bed on the go, so lots of warm air moving around. Added to that my screen had a fine 120T (305 USA) mesh.

Lifting the screen and preparing to flood the open areas with ink
After looking online for tips and chatting to Chris at Screentec I was able to return for a further session armed with the following useful advice for printing in hot, dry conditions:
- Mix your ink thoroughly – sounds obvious but you do need all the ingredients working in unison to get the best performance.
- Dampen your screen – I wasn’t sure about this one but have found it works well. I sponged over the screen with water then wiped off the excess before printing. It had no detrimental effect on the high-definition print. Some printers will mist the screen every 10 or so prints.
- Add retarder – this is available if drying in is a concern, add 5-15% by volume.
- Check your flood coat – pay attention to this and ensure your image is completely flooded with no gaps.
- Re-open your screen – again this one looked risky but in fact I was able to wipe the underside of the screen with a damp cloth to re-open the image. After one print onto newsprint to remove any excess water, normal printing resumed without any detrimental effect on the image.
Aqua Art inks contain no bulking agents or fillers, resulting in an ink with a flowing consistency. Because of this you might want to think about how you handle the squeegee if printing by hand. Vacuum beds often have a squeegee arm that holds the squeegee for you as you push the arm across the screen to print. Keeping the squeegee sitting in the frame will avoid any ink dripping onto your bench top which can be messy and wasteful. My first solution was to place the inky squeegee in a large bowl to capture the drips, however, I have since found a nifty solution online. A pair of spring clamps (available from hardware and DIY stores) attached to the back edge of the screen frame. These support the squeegee when the frame is lifted between prints. This works brilliantly and is now my method of choice.
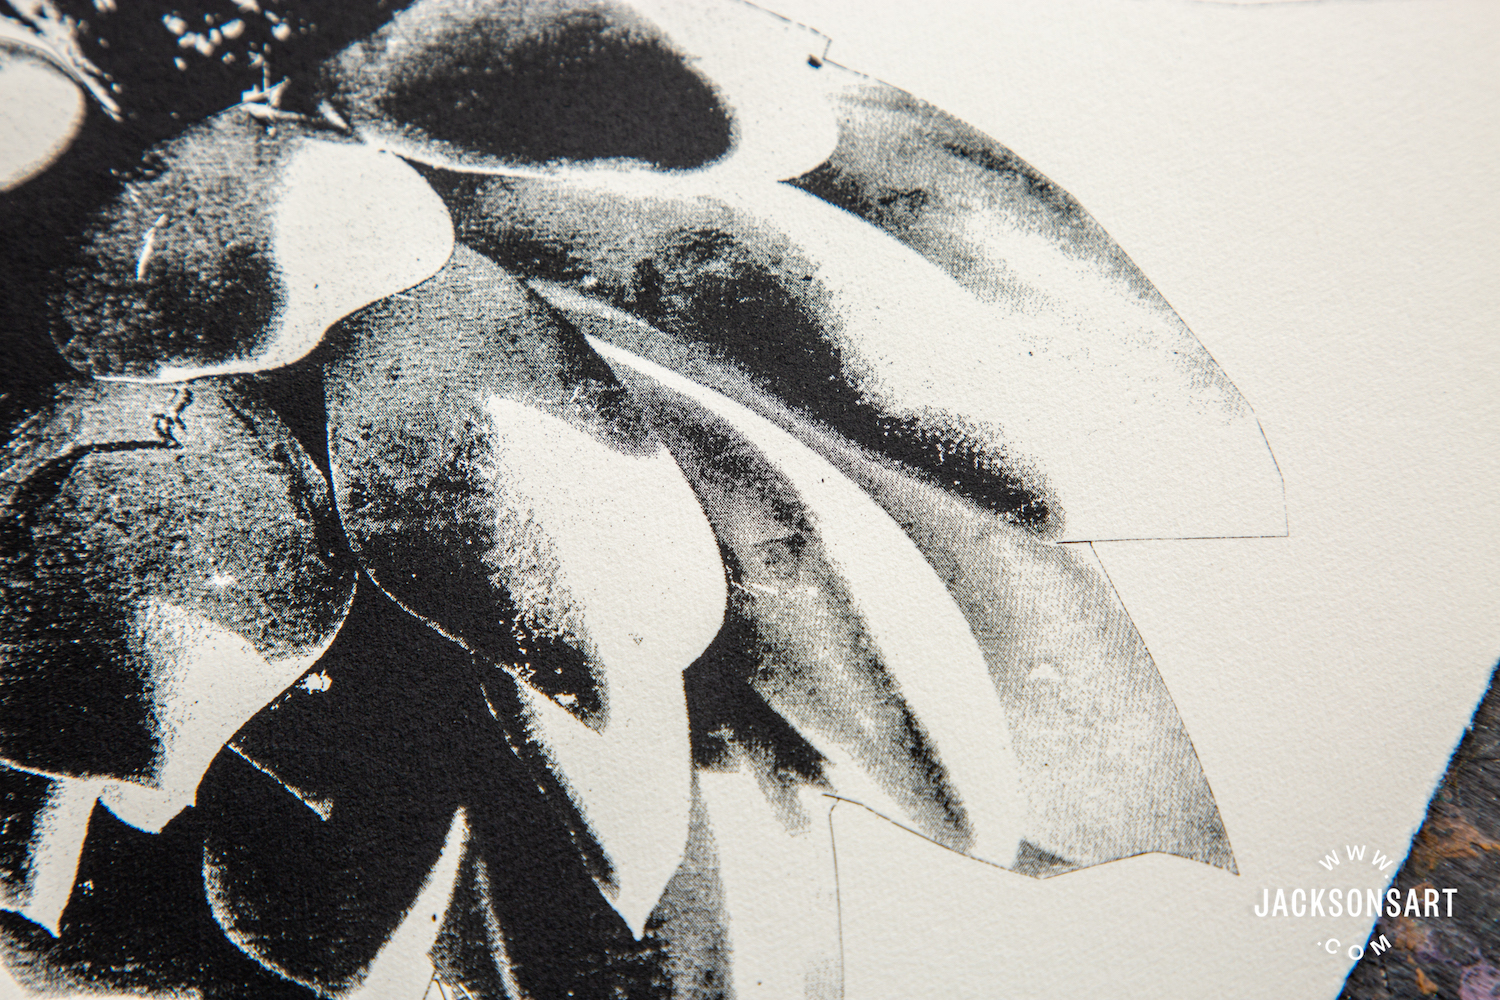
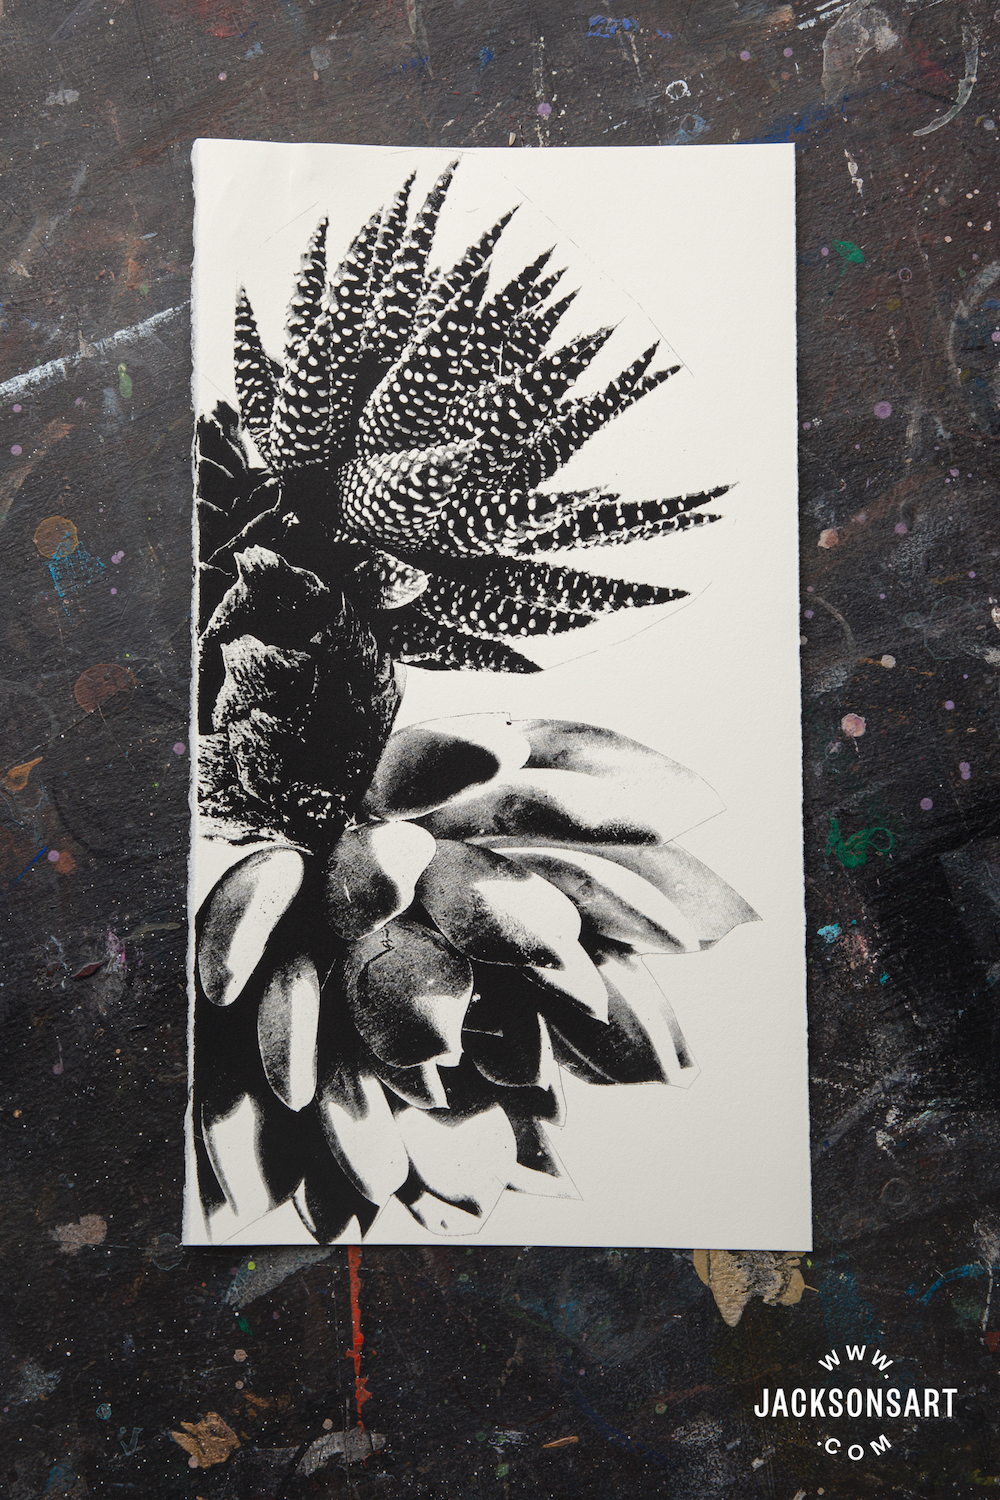
Detail captured perfectly with minimum spread. Photo stencil 120T (305 USA) mesh with Aqua Art Black
Clean Up
The great advantage of water-based inks is the ease with which you can clean up. You can scrape any excess ink from the frame and squeegee using a plastic or rubber blade, such as the larger Japanese Rubber Scraper, then return it to your container. Make sure you wash the screen out straight away to prevent the ink drying in. You can do this with cold water and a sponge, it is not necessary to have a washout booth with a pressure hose if you keep mindful of this. You might notice the amount of pigment coming off as you wash out the ink, you will get a good idea of the high pigment load in the Aqua Art range.
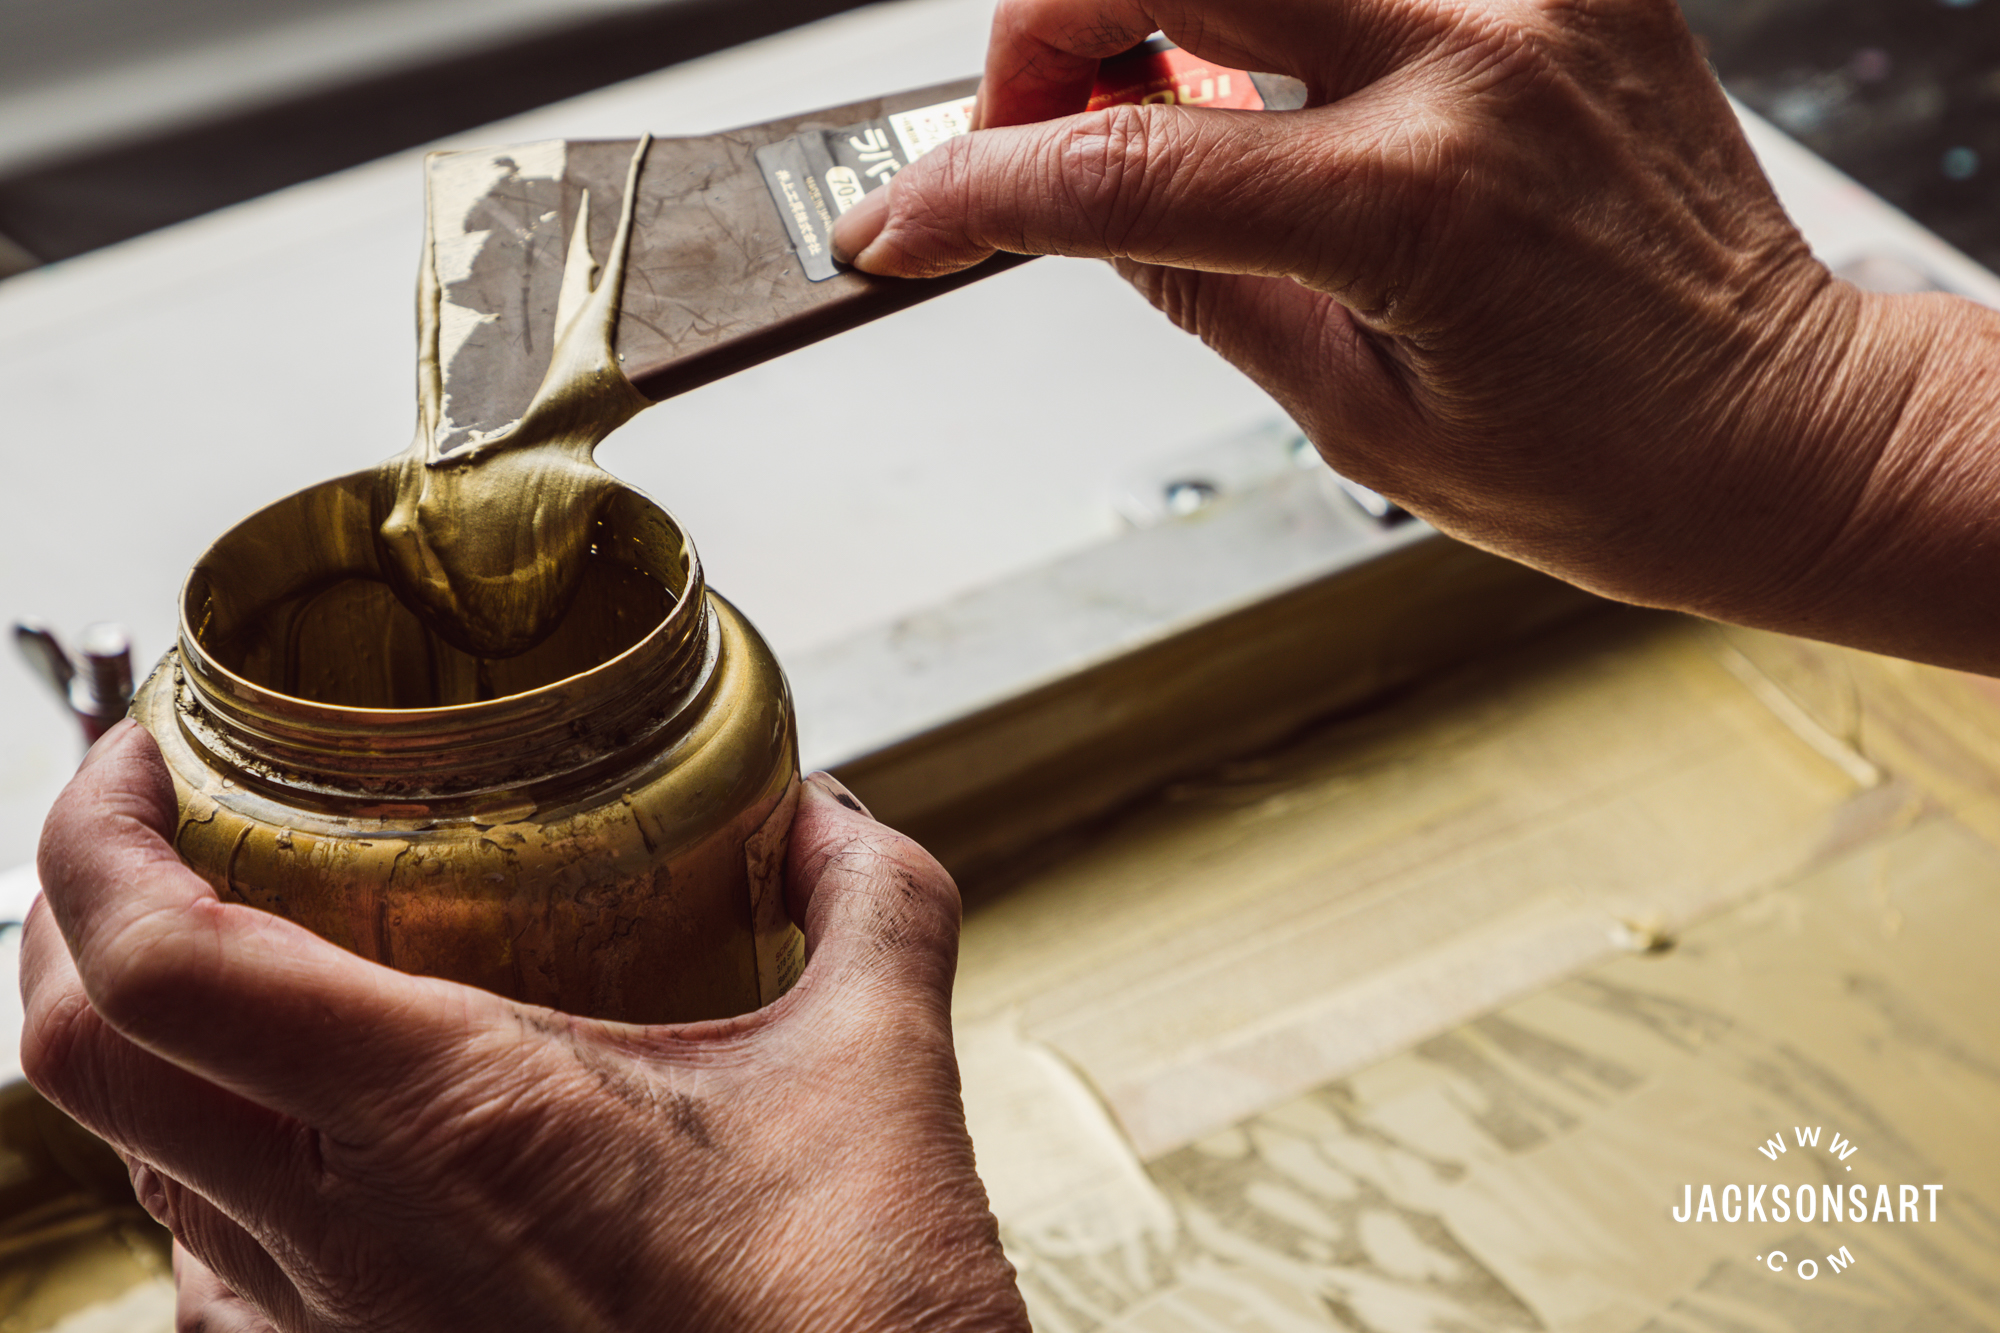
Scraping off excess Aqua Art Gold and returning to tub
Drying and Finish
The inks dry quite quickly, about 30 minutes, so a run can be dry by the time you have set up the next stencil and colour. Drying is by the process of evaporation so times will vary depending on the relative humidity. The ink dries to a dense, velvety matt finish.
Second colour Orange for photo stencil over Yellow
Value for Money
Screentec Aqua Art Inks are sold by weight and not volume, which can make a direct comparison to other brands a bit tricky. We can see though that the 250 g colours all almost fill the 250 ml container that they come in. When mixing the colours, the high pigment load is very noticeable, you get a lot of colour for your money. In particular, the metallic gold and silver represent outstanding value for money.

Aqua Art Ink Fluorescent Red 500 g
Shop Screentec Aqua Art Water Based Screen Ink on jacksonsart.com
Shop printmaking on jacksonsart.com
Further Reading
Everything You Need to Know About Printmaking Paper
A Guide to Inks
The Making of a Rob Ryan Screen Print
Mokuhanga: Japanese Woodblock Printmaking
[ad_2]
Source link


